Training Drawings.mlmodel
For my WWDC Scholarship submission I used a custom machine learning model that I trained using CreateML. In this blogpost I will be explaining how I went from binary data to a state of the art machine learning model.
Getting the data
The first thing you need when training a machine learning model is data. Because CoreML uses the best machine learning algorithms we know one doesn’t need a lot of data, though often more data is better.
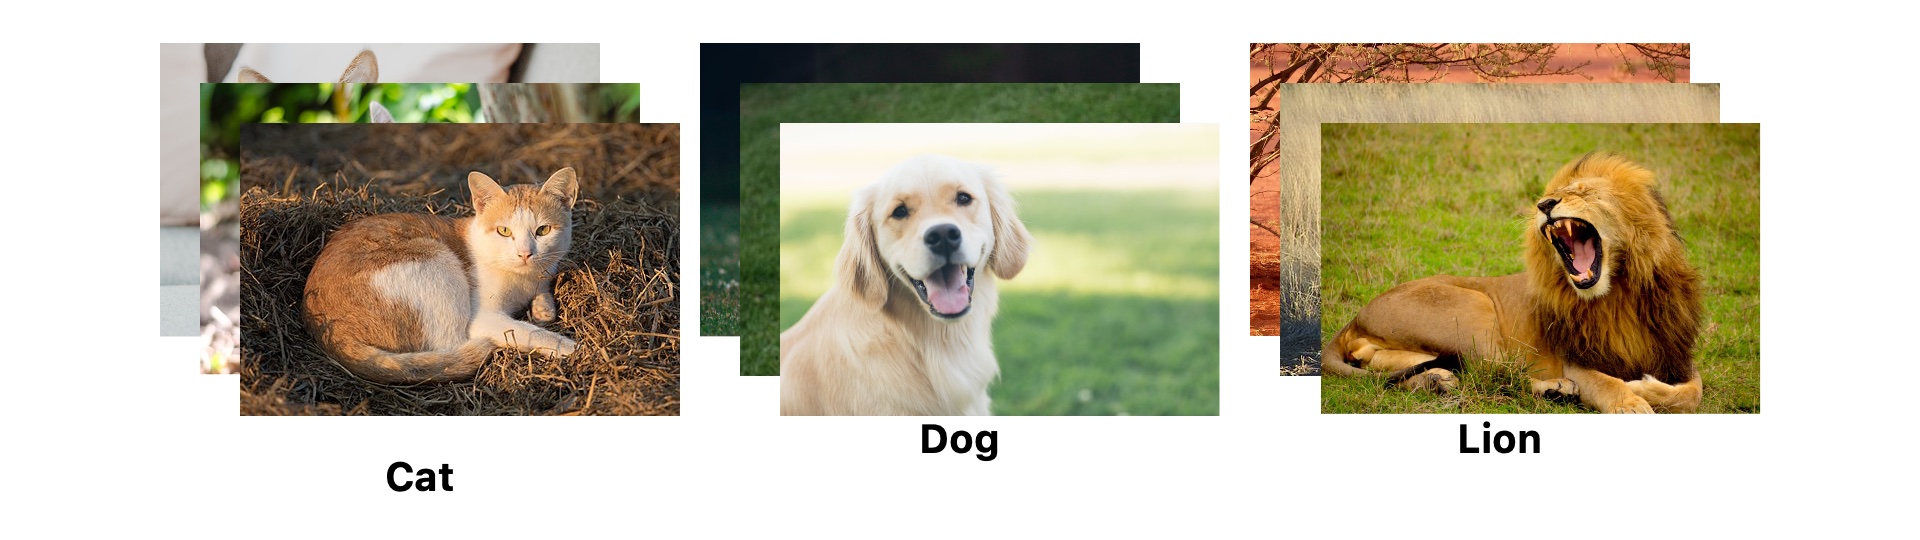
Data for machine learning comes in a so-called dataset. For those of you who are not familiar with this term: a dataset is file, or a number of files, consisting of two parts: the data itself (in this case images) and labels. Labels are descriptions of what’s in a certain piece of data. A simplified illustration of a dataset:
CreateML expects us to input our data in the following way:
dataset/
    label1/
        img1.jpeg
        img2.jpeg
        ...
    label2/
        img1.jpeg
        img2.jpeg
        ...
    .../
        img1.jpeg
        img2.jpeg
        ...
Most of the time you will be able to find training examples online; however, there will inevitably be times when you have to harvest the data yourself. Depending on the nature of your model, some of the data you’re storing might contain personal information, so you should always keep user privacy in mind. In this example, I went with the first option because it was quicker and I knew it would yield better results.
The dataset I used is Google Quick, Draw!. This dataset is a good place to start, but it’s not in its desired format yet. Therefore, we have to do some preprocessing.
Preprocessing
Preprocessing is the act of transforming the data before using it to train a machine learning model. The Quick, Draw! data is available in a very efficient binary format but CoreML wants us to input jpeg images. So let’s create some 150 000 of those!
After downloading the data you’ll have 345 .bin files, each containing images for a particular category. Because the judge only uses each Playground for a couple of minutes, I decided to only use 50 categories. This speeds up training by almost 7 times and the model will likely perform better.
I found that using 3000 images per category yielded the best result while still matching the <25mb playground size requirement.
The language is used for the script is Python. Python is a perfect language for small tasks. I also used a library called Pillow and Google’s script to parse the binary drawings, available on their GitHub.
Note: I’ll not be teaching you how to use Python this time. If want to learn Python I recommend you take a look at python.org.
Let’s start by importing some modules:
import os

from PIL import Image, ImageDraw
from binary_file_parser import unpack_drawings
I started by writing a function that creates n images for a certain category.
def draw_images_for_category(category, n):
    """ Open the first n images for a category.

    The binary data should be stored in ./raw/. The output images will be stored in a seperate folder in ./images/.

    :category: The name for the cateogry. Must match a .bin file.
    :n: The number of images to draw.
    """

    # Create a folder for this category
    os.makedirs('drawings/{}/'.format(category))

    # Loop over the drawings
    i = 0
    for drawing in unpack_drawings('raw/' + category):
        if i >= n: return

        # Get the size of drawing
        minx = 0
        miny = 0
        maxx = 0
        maxy = 0
        for stroke in drawing['image']:
            # Get the coordinates for this stroke. Ignore timing.
            x, y = (stroke[0], stroke[1])

            minx = min(minx, min(x))
            maxx = max(maxx, max(x))
            miny = min(miny, min(y))
            maxy = max(maxy, max(y))

        dy = maxy - miny
        dx = maxx - minx

        # Get the offset for centering the image
        top = (255 - (dy * 0.8)) / 2
        right = (255 - (dx * 0.8)) / 2

        # Save the strokes in an array that Pillow can understand.
        parsed_strokes = []
        for stroke in drawing['image']:
            for coordinate in zip(stroke[0], stroke[1]):
                # Scale to 80% and apply offset.
                coordinate = (coordinate[0] * 0.8)+right, (coordinate[1] * 0.8)+top

                parsed_strokes.append(coordinate)

        # Draw the image using Pillow.
        img = Image.new('L', size=(255,255), color=255)
        draw = ImageDraw.Draw(img)
        draw.line(parsed_strokes, fill=(0,0,0), width=3)

        # Save image to disk.
        save_path = 'drawings/{}/{}.jpeg'.format(category, i)
        img.save(save_path)

        print('Done {} {}'.format(category, i))
Then we loop over our categories and create 3000 images for each category.
categories = ['toothbrush.bin', ..., 'eye.bin']

if __name__ == '__main__':
    for category in categories:
        print('Starting ' + category)
        draw_images_for_category(category, 3000)
Yay, we now have training data!
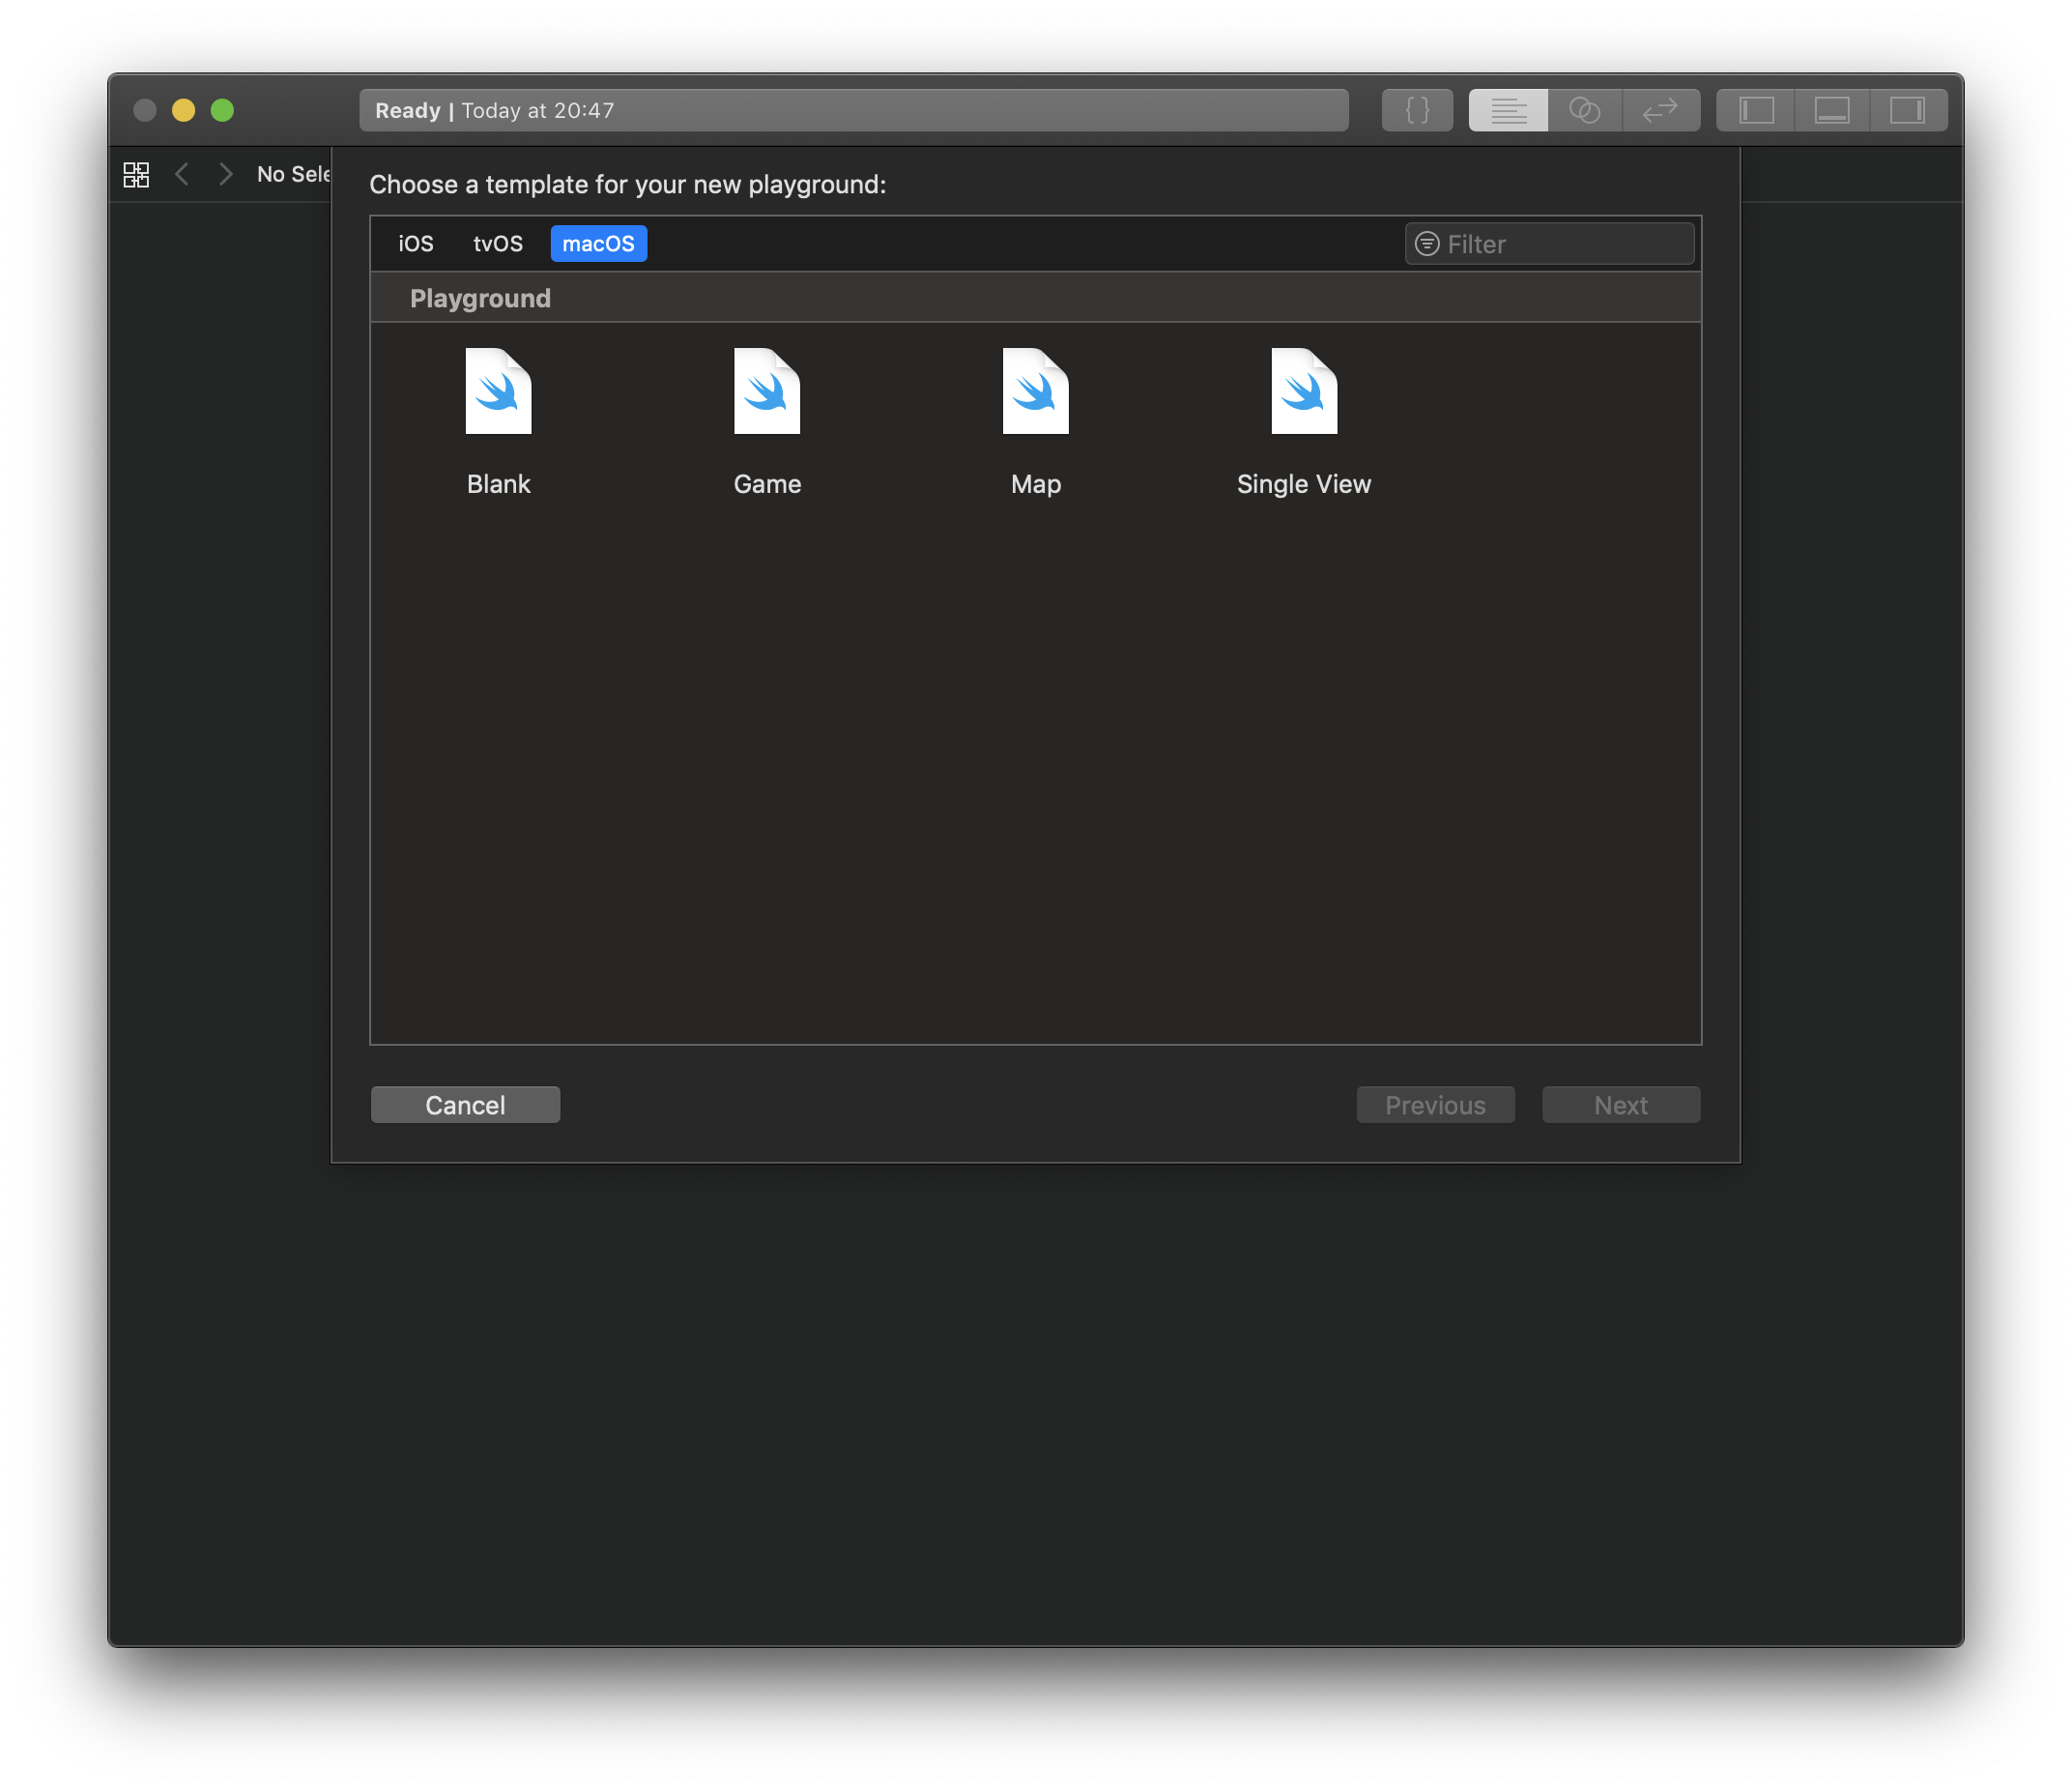
Training
Training a top notch machine learning model is extremely easy using Apple’s CreateML. Start by creating a new playground. Make sure to set the platform to macOS by selecting it in the top bar.
Start by typing these 3 lines of code:
import CreateMLUI

let builder = MLImageClassifierBuilder()
builder.showInLiveView()
And… That’s it! That’s all the code!
All there’s left to do is dragging the folder with images onto the live view and CreateML will handle everything else.
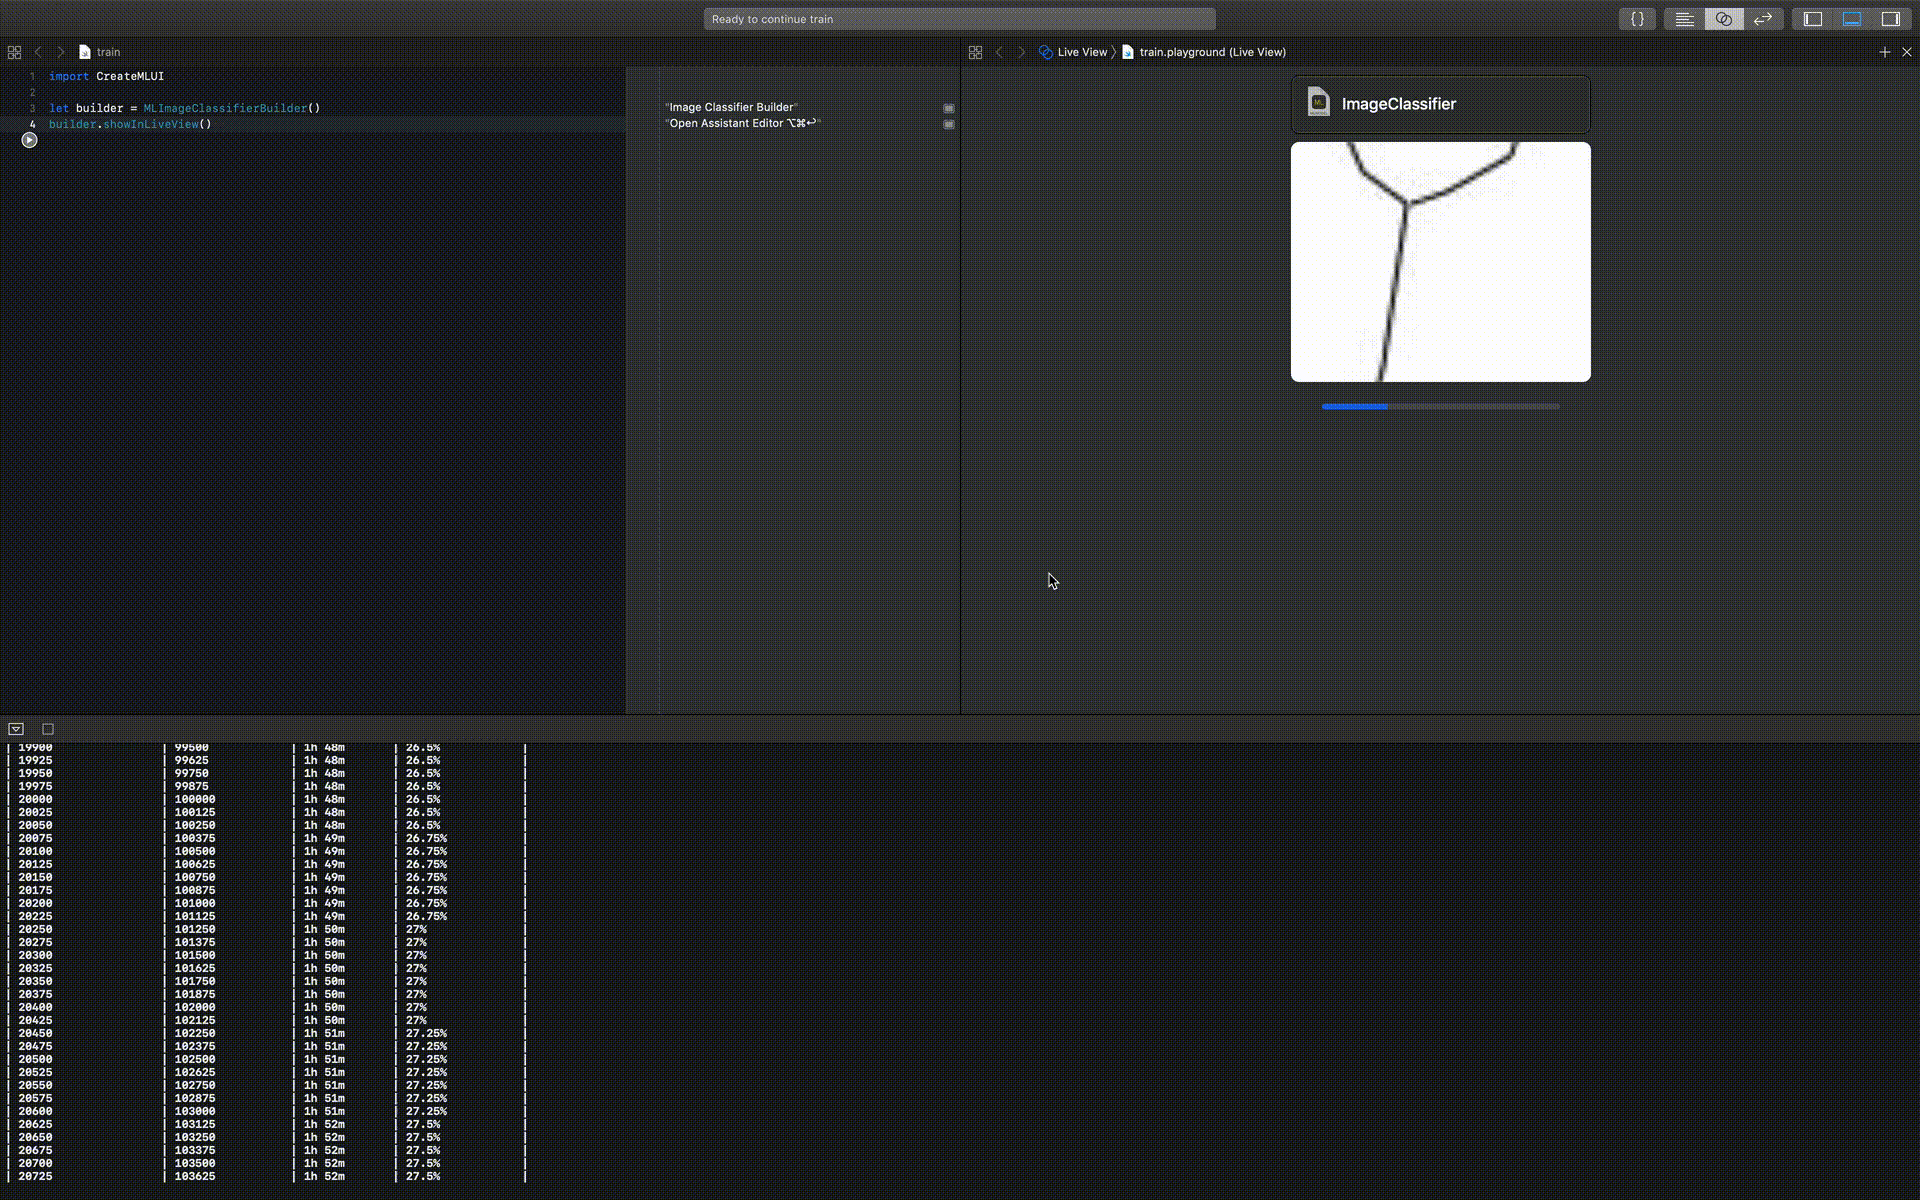
Once training is done you can use the model by simply drag the model into an Xcode project or Playground, or store it in Finder. Magic!
Thanks for reading
I hope this post was useful to you. If you have any questions or comments, feel free to reach out on Twitter or email me directly at rick_wierenga [at] icloud [dot] com.