Google Code In 2019/2020 (TensorFlow) - A Review
Each year Google organizes Google Code-In: a programming competition for teenagers aged 13 to 17. Different organizations offer a wide variety of tasks for students from all around the world to complete. These tasks take 3 to 10 hours to complete, depending on the requirements and creativity of the student. They receive feedback from mentors and get a chance to incorporate the feedback in their work. When they are done the mentors can accept the task. Now the student can claim another task. And repeat! And repeat!
About a month before the contest started Brad Larson from the Swift for TensorFlow team and Paige Bailey, the TensorFlow product manager, emailed me suggesting to take part. Gladly! I couldn’t wait for the contest to start.
Today is the last day to work on tasks. Time has flown by! I have completed 29 tasks and learned an incredible amount about TensorFlow and machine learning but also communication and open source. The competition had very interesting tasks encouraging me to explore things I wouldn’t even have known about. In this post I would like to share some of my favorite moments of the contest.
Claiming tasks
Let me start by giving a quick overview of how the Code-In platform works.
When you open the website you see the dashboard:
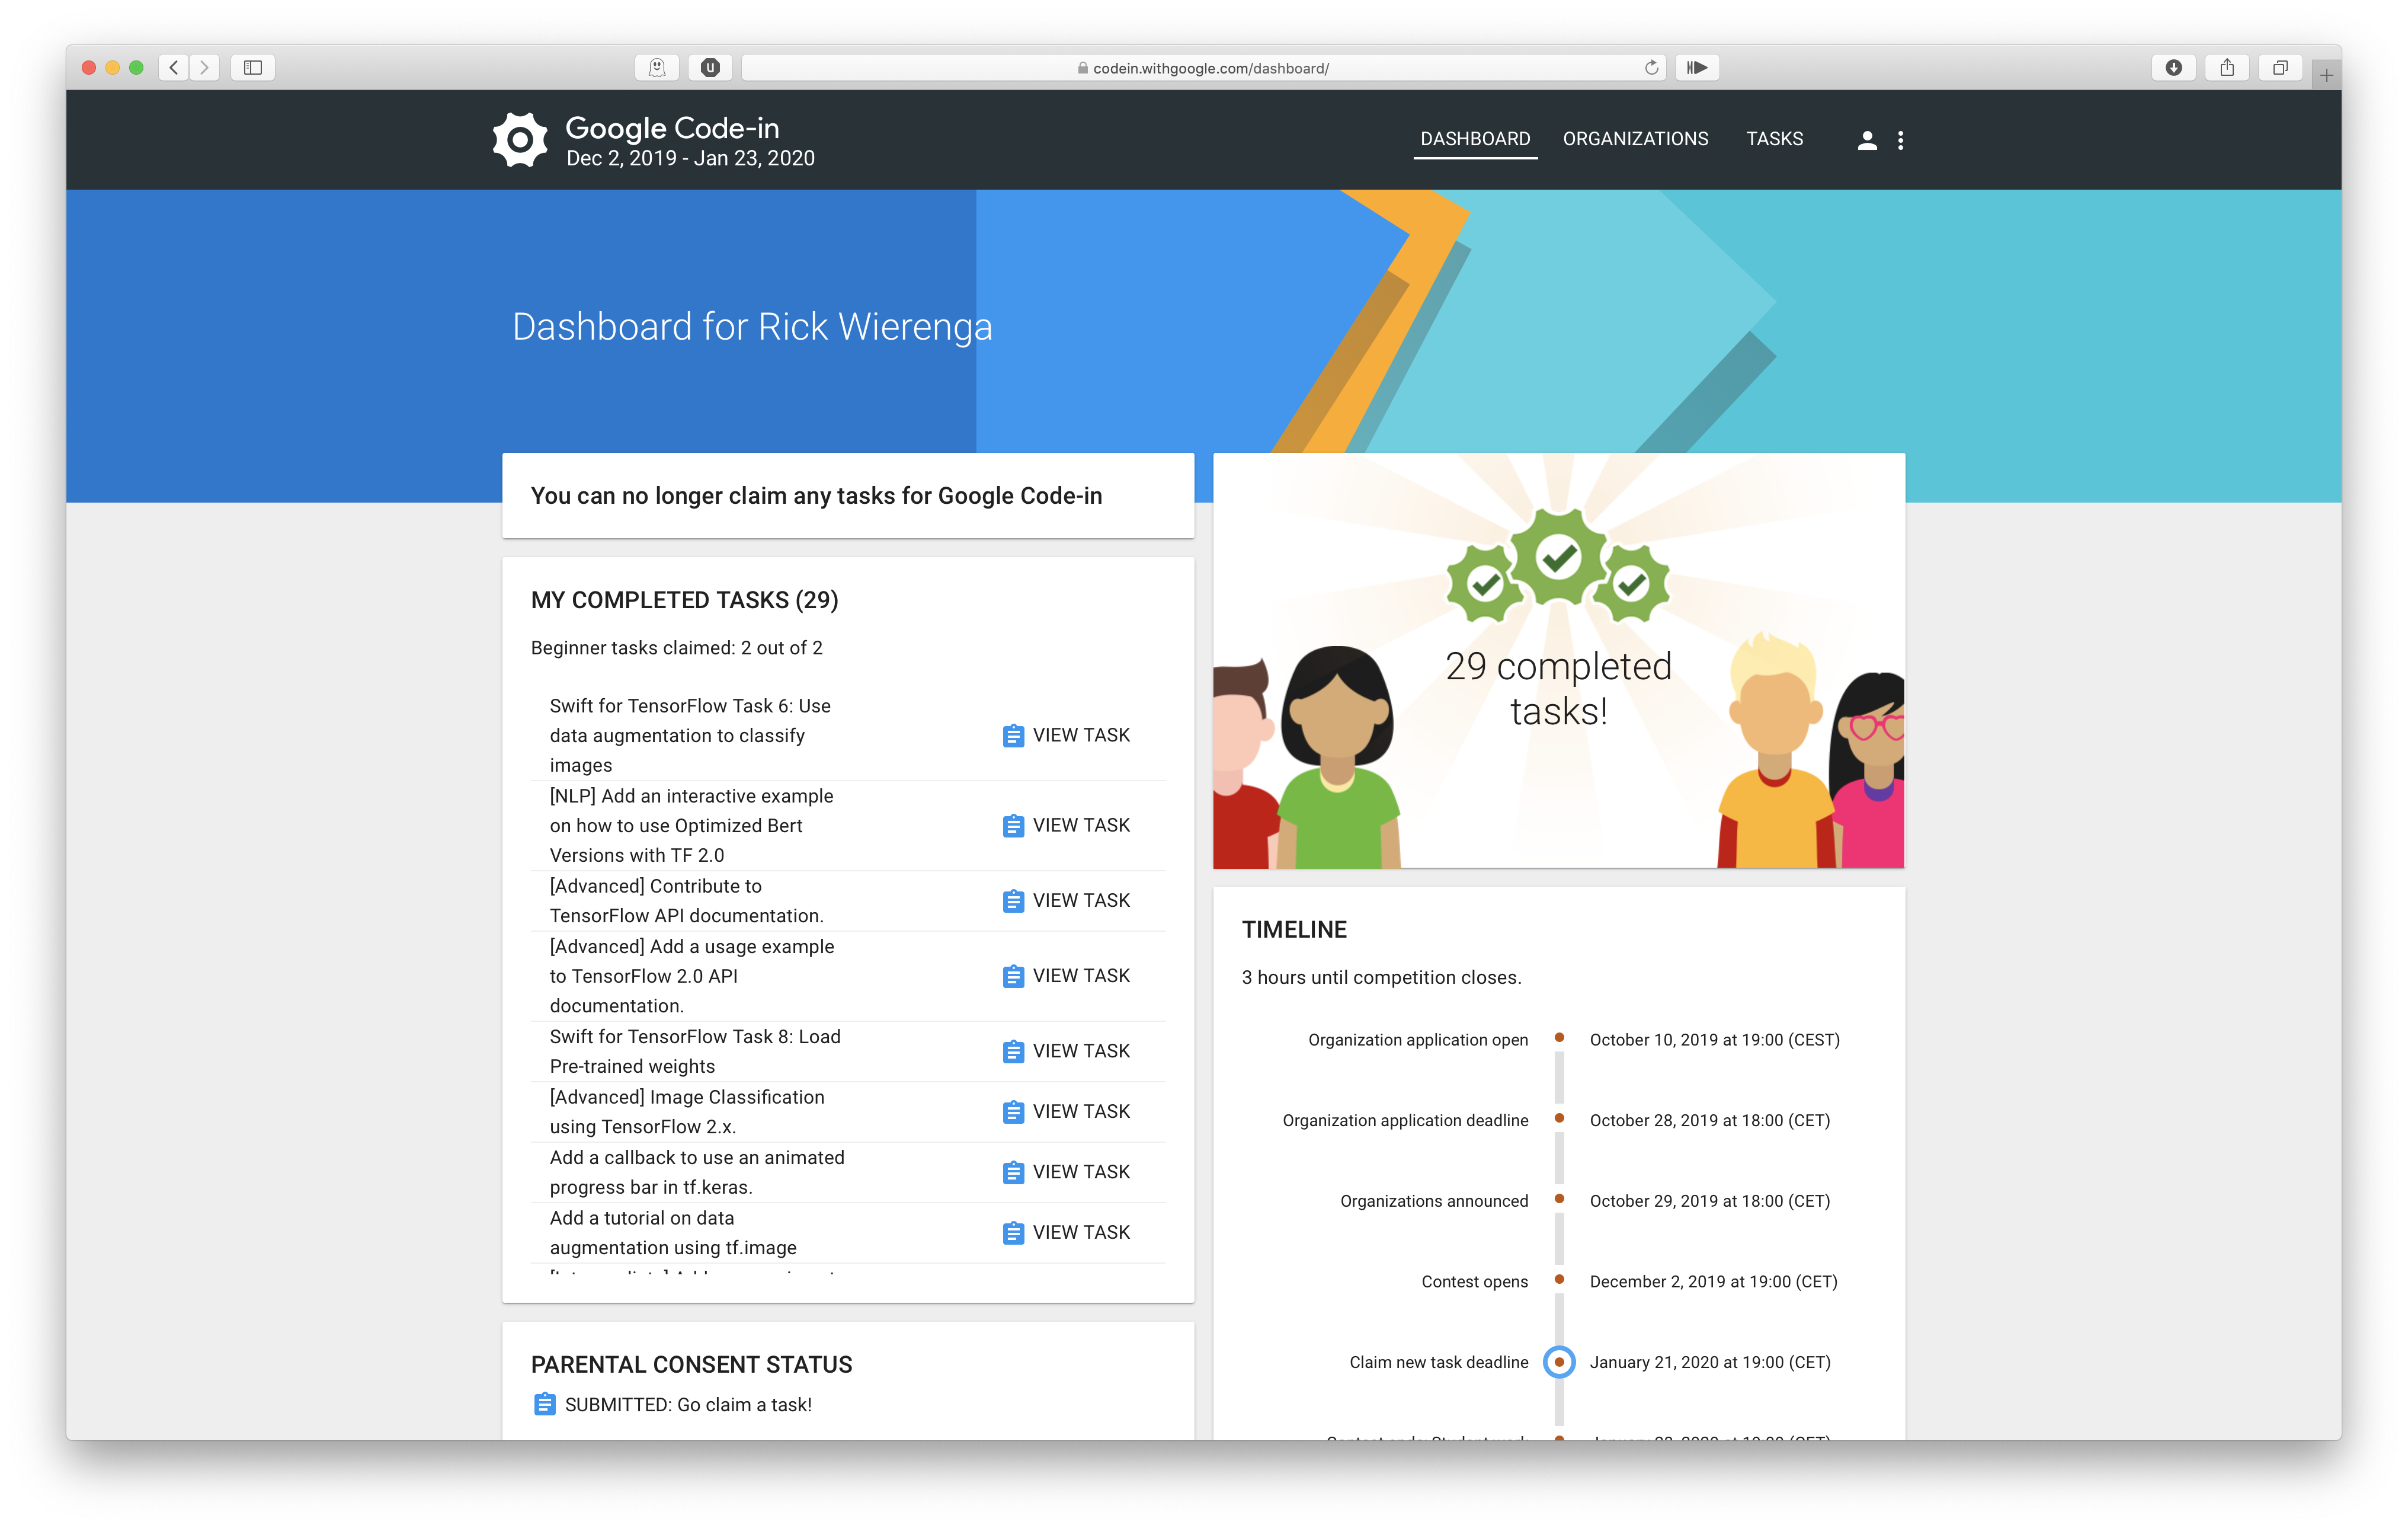
The top left corner used to show the current task, but since I have completed my last task it’s shows a little message instead.
Each task has its own page where you can read the task description, talk to the mentors and submit your task. When your task is submitted the mentors can review it and send it back requesting more work or approve the task.
Swift for TensorFlow
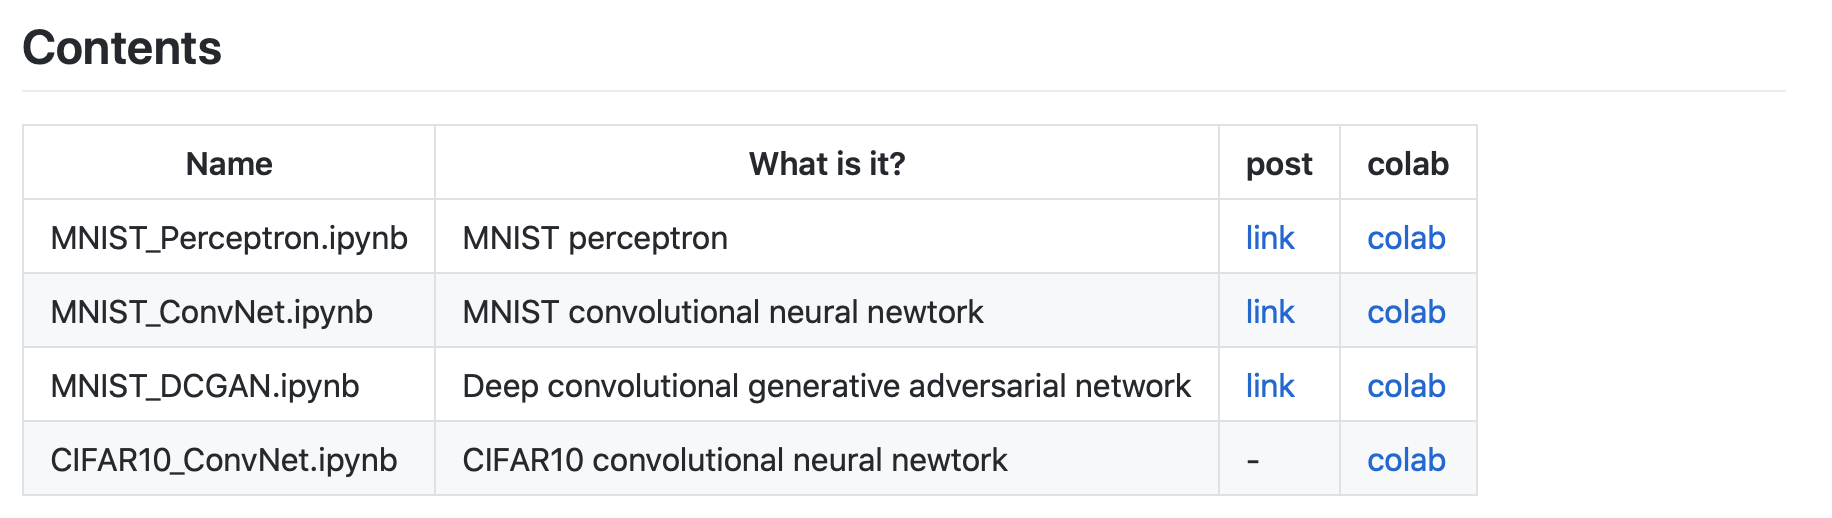
I started off by completing most of the Swift for TensorFlow tasks (I later completed all of them). While working on these tasks I decided to curate a list of all of my work in a GitHub repository: s4tf-notebooks.
One task was to create a new tutorial about the framework. I wrote a tutorial for beginners on how to get started with the framework: “Your first Swift for TensorFlow model”. Writing this was a little counterintuitive at first because I had not written much Swift in a notebook before, but it was still a lot of fun! The tweet has more than 30K views and even got shared by Chris Lattner himself!
While I was at it I decided to write another tutorial about Swift for TensorFlow (not a task): “An introduction to Generative Adversarial Networks (in Swift for TensorFlow)” where I provide in-depth explanations about GANs and showcase how to build a deep convolutional generative adversarial network in Swift.
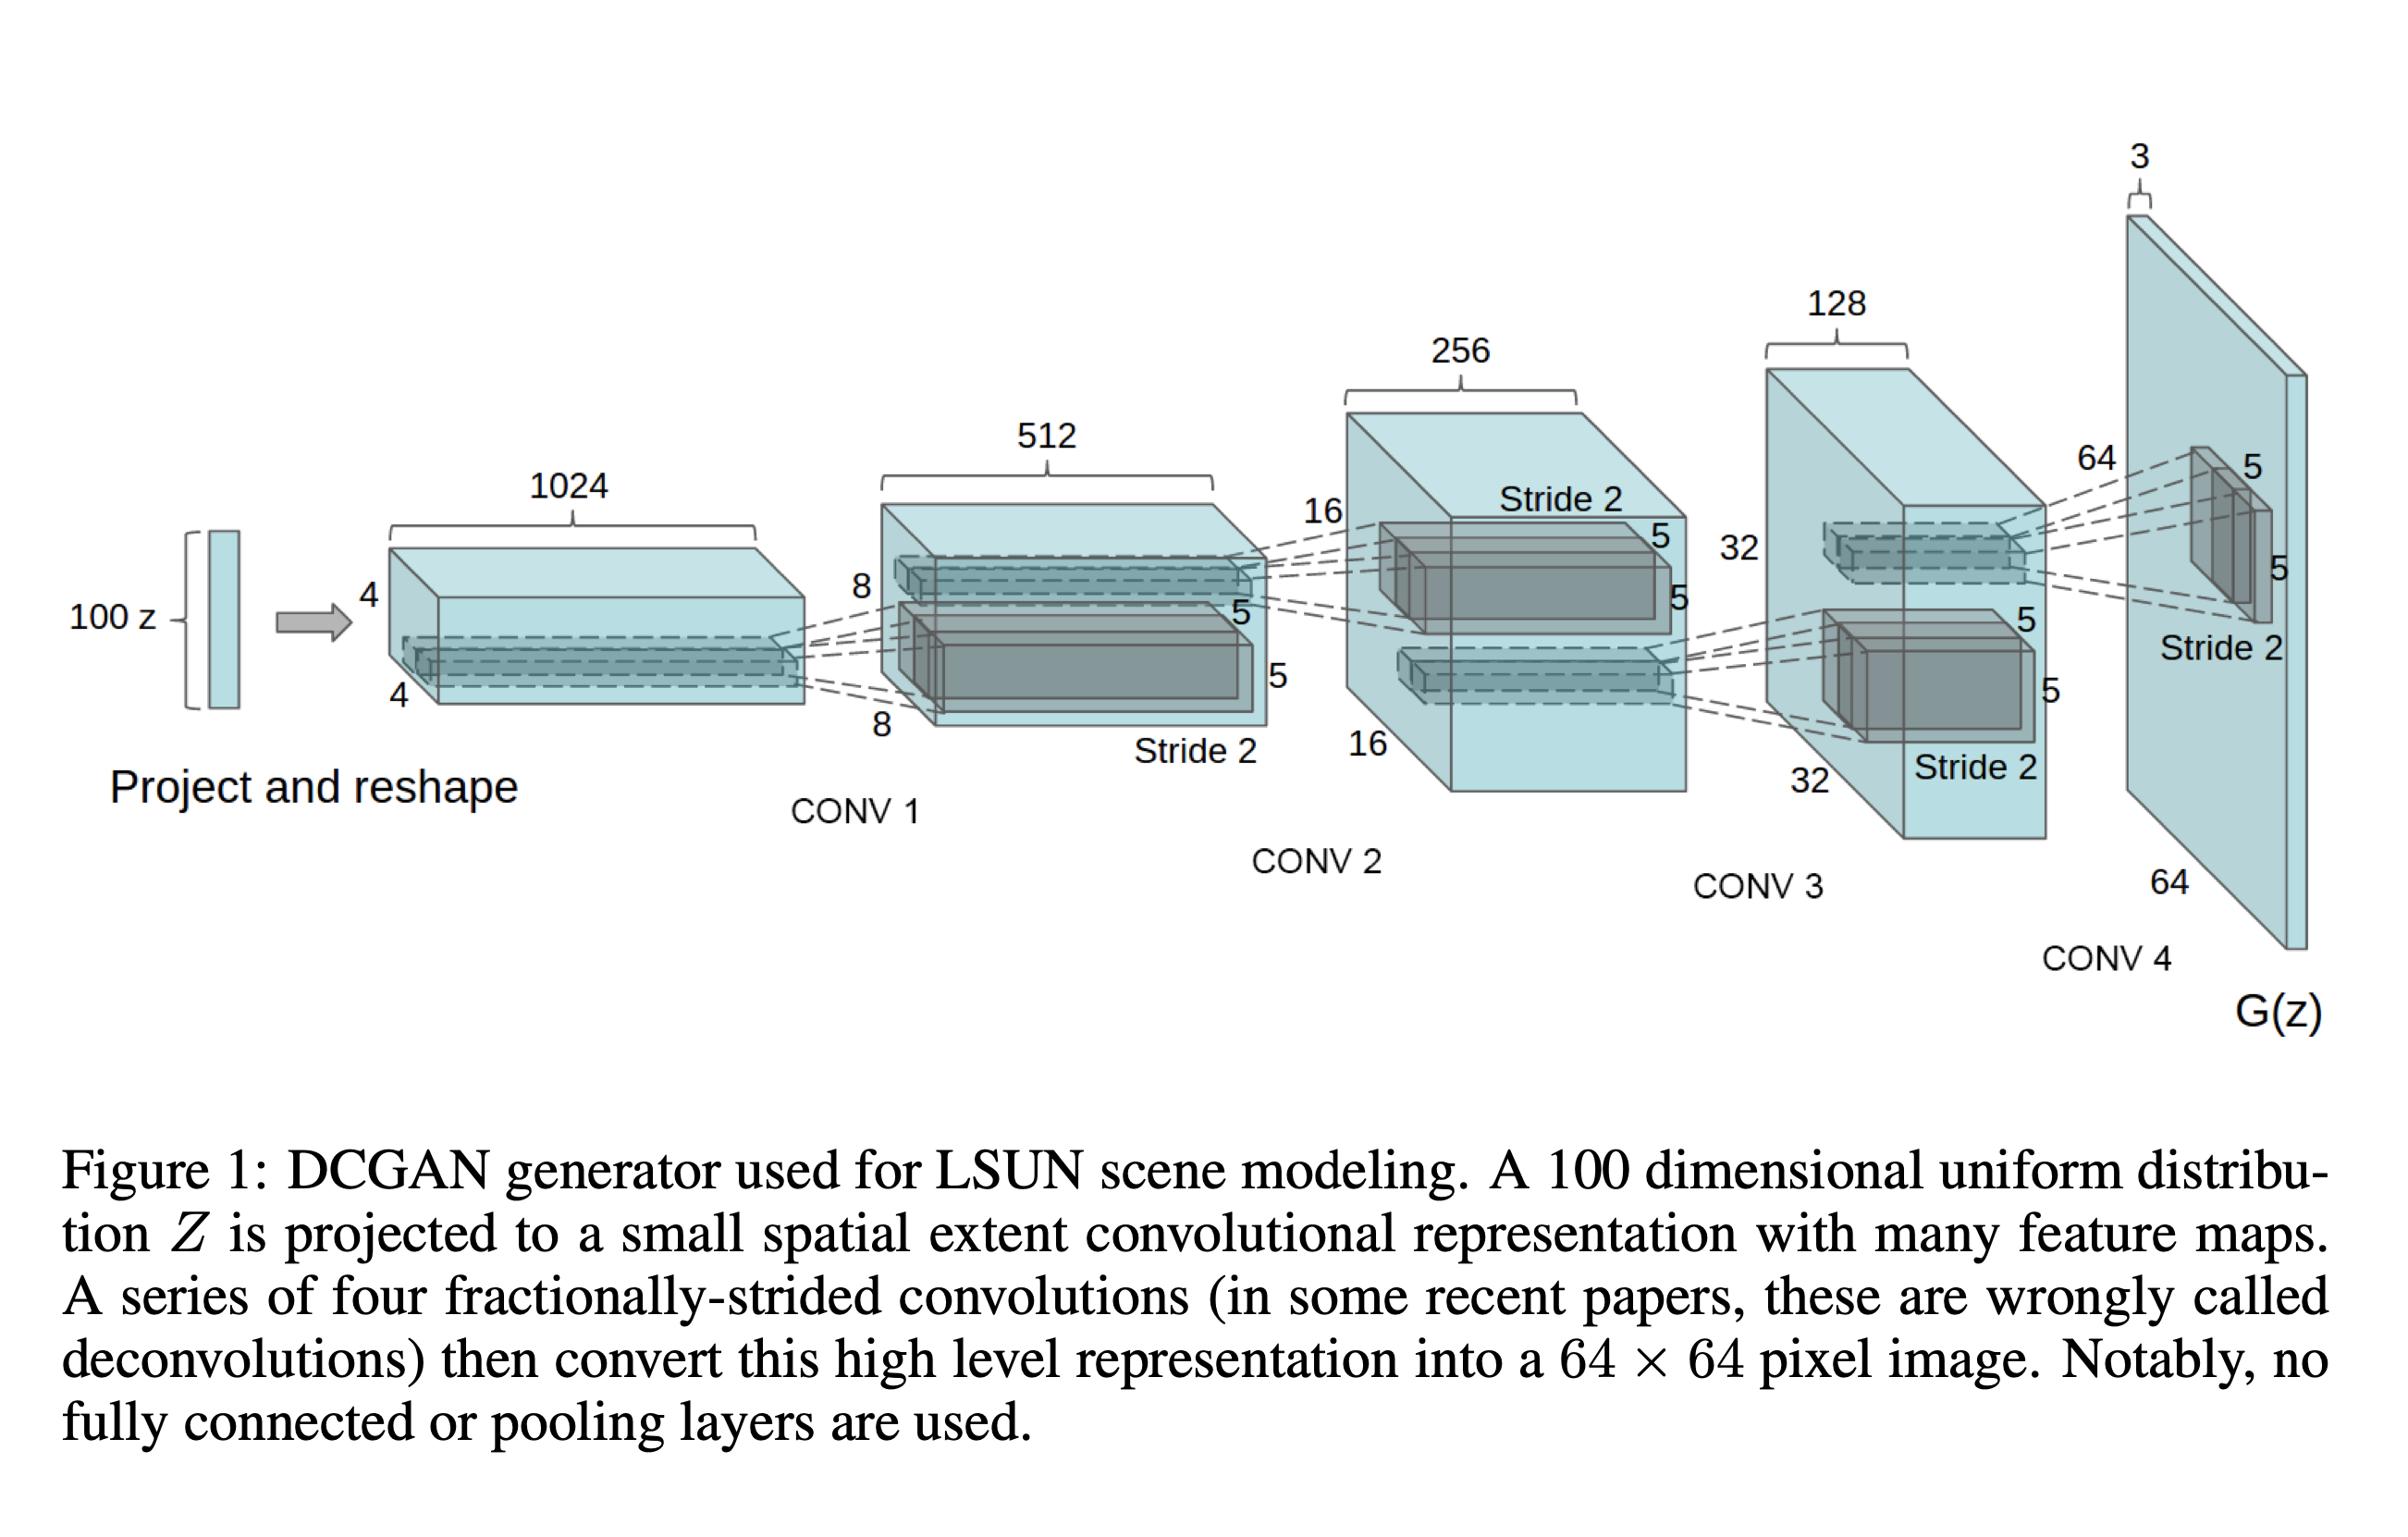
Because S4TF’s model garden did not have this model yet, I decided to create a PR. After some really helpful feedback on my code it got merged: https://github.com/tensorflow/swift-models/tree/master/DCGAN! The corresponding tweet was also very popular—getting shared by Jeremy Howard and multiple members of the Swift for TensorFlow team at Google.

Swift, being my first programming language, has always been one of my favorite languages to work with. Seeing it being adopted by Google for machine learning is very exciting because it allows me to combine two of my favorite things: Swift and machine learning. I’m definitely planning on continuing to contribute to the libraries.
HowPretty
Another task was to deploy a TensorFlow model to iOS or Android. I have build other apps using machine learning before, but TensorFlow was different. The amount of freedom compared to something like Apple’s CoreML was astounding. The documentation was also very good.
While I could have made a simple classification app, I decided to build a very brutal app called HowPretty: an app that tells you how pretty you are! At this point the app is a prototype fulfilling the task requirements, but I am planning on polishing this app and putting it in the App Store soon.
 (I’m not very pretty according to my app 😅)
I started off by looking for a dataset with faces. I found CelebA, a dataset with more than 200 000 faces with different features including a column “Attractive.” I used a MobileNet with transfer learning to train a model. The main advantage about this model is speed and efficiency. Because I wanted the app to run without internet to preserve the users’ privacy, this was a crucial feature. Luckily running a model locally is just as easy as running it in Firebase.
At first I was skeptical about whether the model would even learn or not, because prettiness is subjective. It turns out that neural networks can! I got about 80% validation accuracy which is not too great, but more than 50% which I had expected. When I will put this app in production I will retrain the model on the full dataset focusing more on model performance.
Other things I will improve when this app goes into production:
- Use bounding boxes of face to crop the image for higher accuracy. Tell the user to move closer or further away to get the perfect resolution (150 by 150).
- Make an Android version, possibly using React Native or Flutter.
- Add a share-on-social-media button
For more details, see the README.
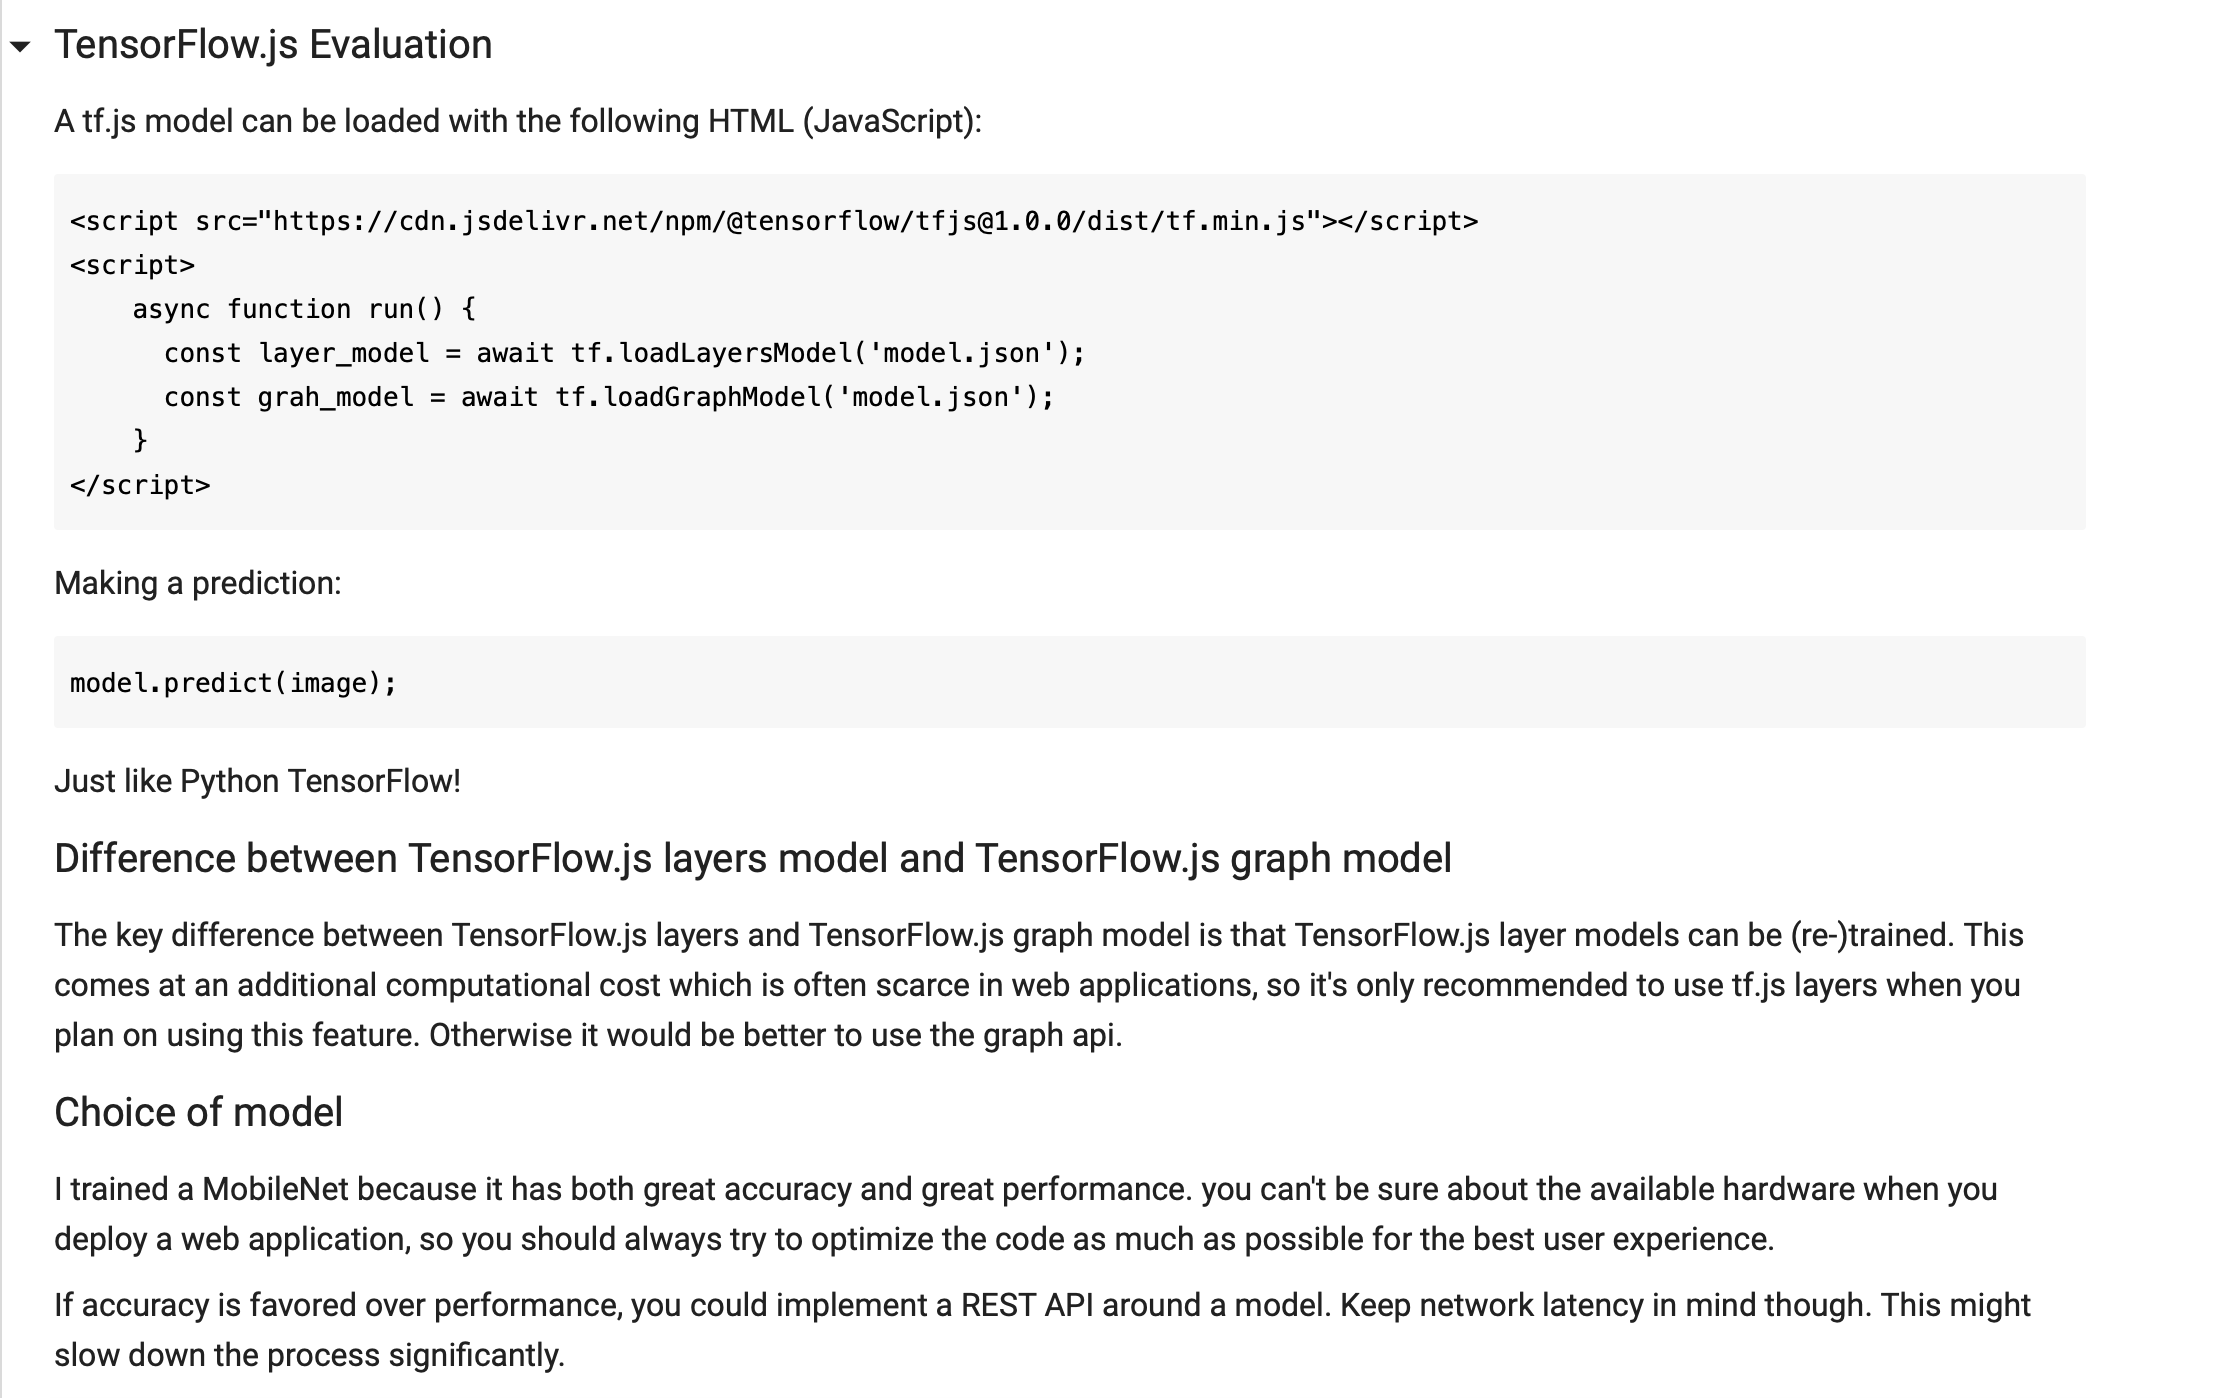
TensorFlow.js
Machine learning is more than Python and that’s what GCI has made very clear. Throughout the competition I have used 3 different programming languages in combination with machine learning.
The TensorFlow.js task was to export a Keras model to TensorFlow.js, load it into JavaScript and describe the differences between the different TF.js APIs.
The following snippet shows how to export a model to be used on the web:
model.save('model.h5')
!tensorflowjs_converter --input_format=keras /content/model.h5 /content/model/
The 100 layer Tiramisu: implementing a paper
This task required us to segment images using Tiramisu: a U-Net like neural network. I could not find an implementation I really liked so I decided to implement the model myself. Implementing a full paper was very exciting. There were two papers I used to implement the full model: “The One Hundred Layers Tiramisu: Fully Convolutional DenseNets for Semantic Segmentation” and “Densely Connected Convolutional Networks”.
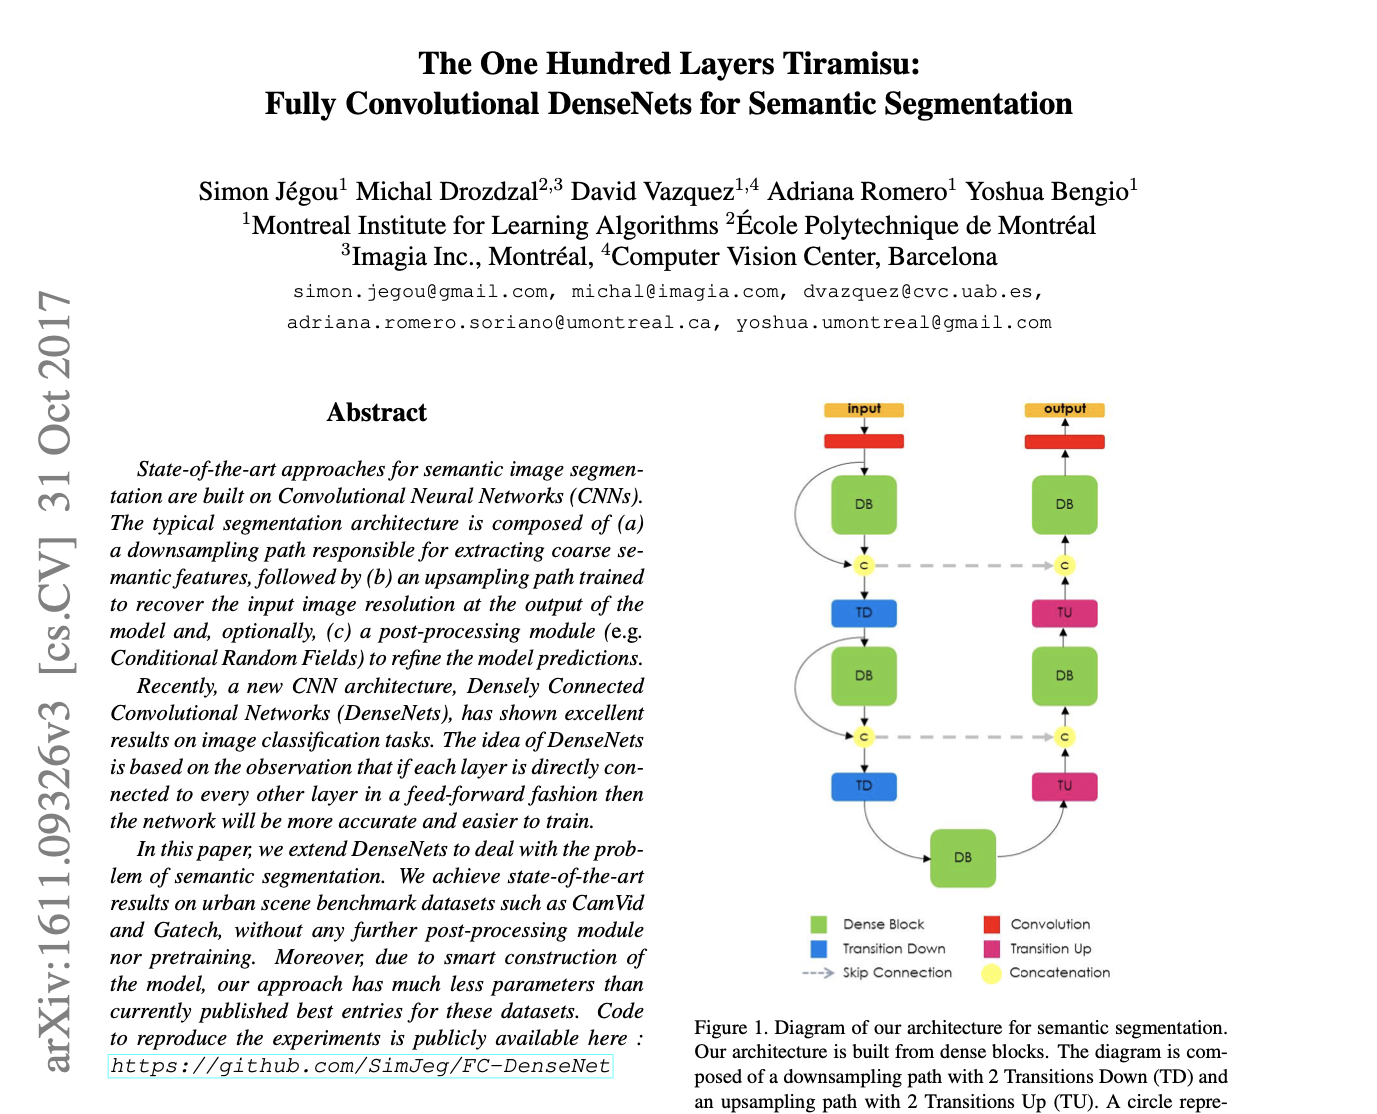
I also submitted a PR for this model to keras-team/keras-applications, but the team seems to be moving slowly.
You can view the full implementation in Google Colab.

rickwierenga/TensorFlow-Tutorials
I took the task “[Advanced] Upgrade a TensorFlow 1.x tutorial using tf.keras to TF 2.0” a bit further and decided to update every tutorial in nlintz/TensorFlow-Tutorials, a repository with more than 5.8K stars, to TensorFlow 2.
You can view the repository here.

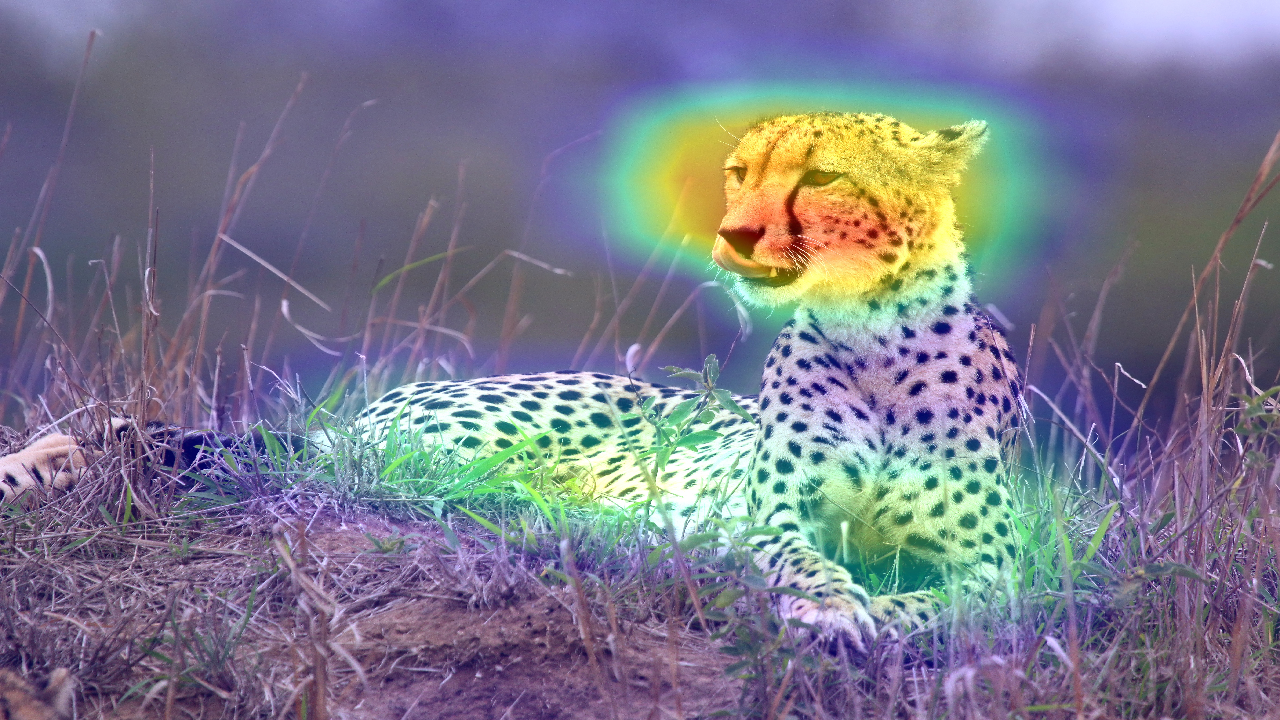
Heatmap
This task was very satisfying because I could clearly see the similarities between convolutional neural networks and human brains like my own. I think it is very interesting how humans can focus on one object, and choose where they want to focus without external supervision. Apparently, artificial neural networks do the same.
To generate a heatmap we take the output of a convolutional layer, given the input image, and weigh every channel by the gradient of its class activation. In other words, we take the activation of each channel of the input image in the final convolutional layer and weigh it with how class-like (in our case cheetah-like) the image is.
 This image is available under the Creative Commons Attribution-Share Alike 4.0 International license. source
_female_2.jpg)
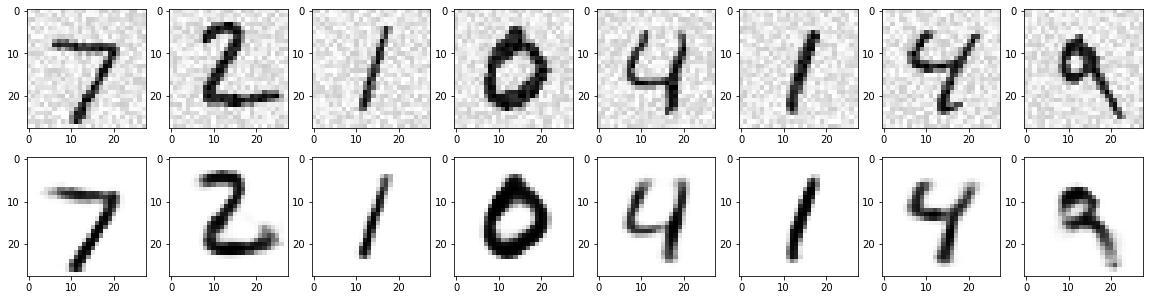
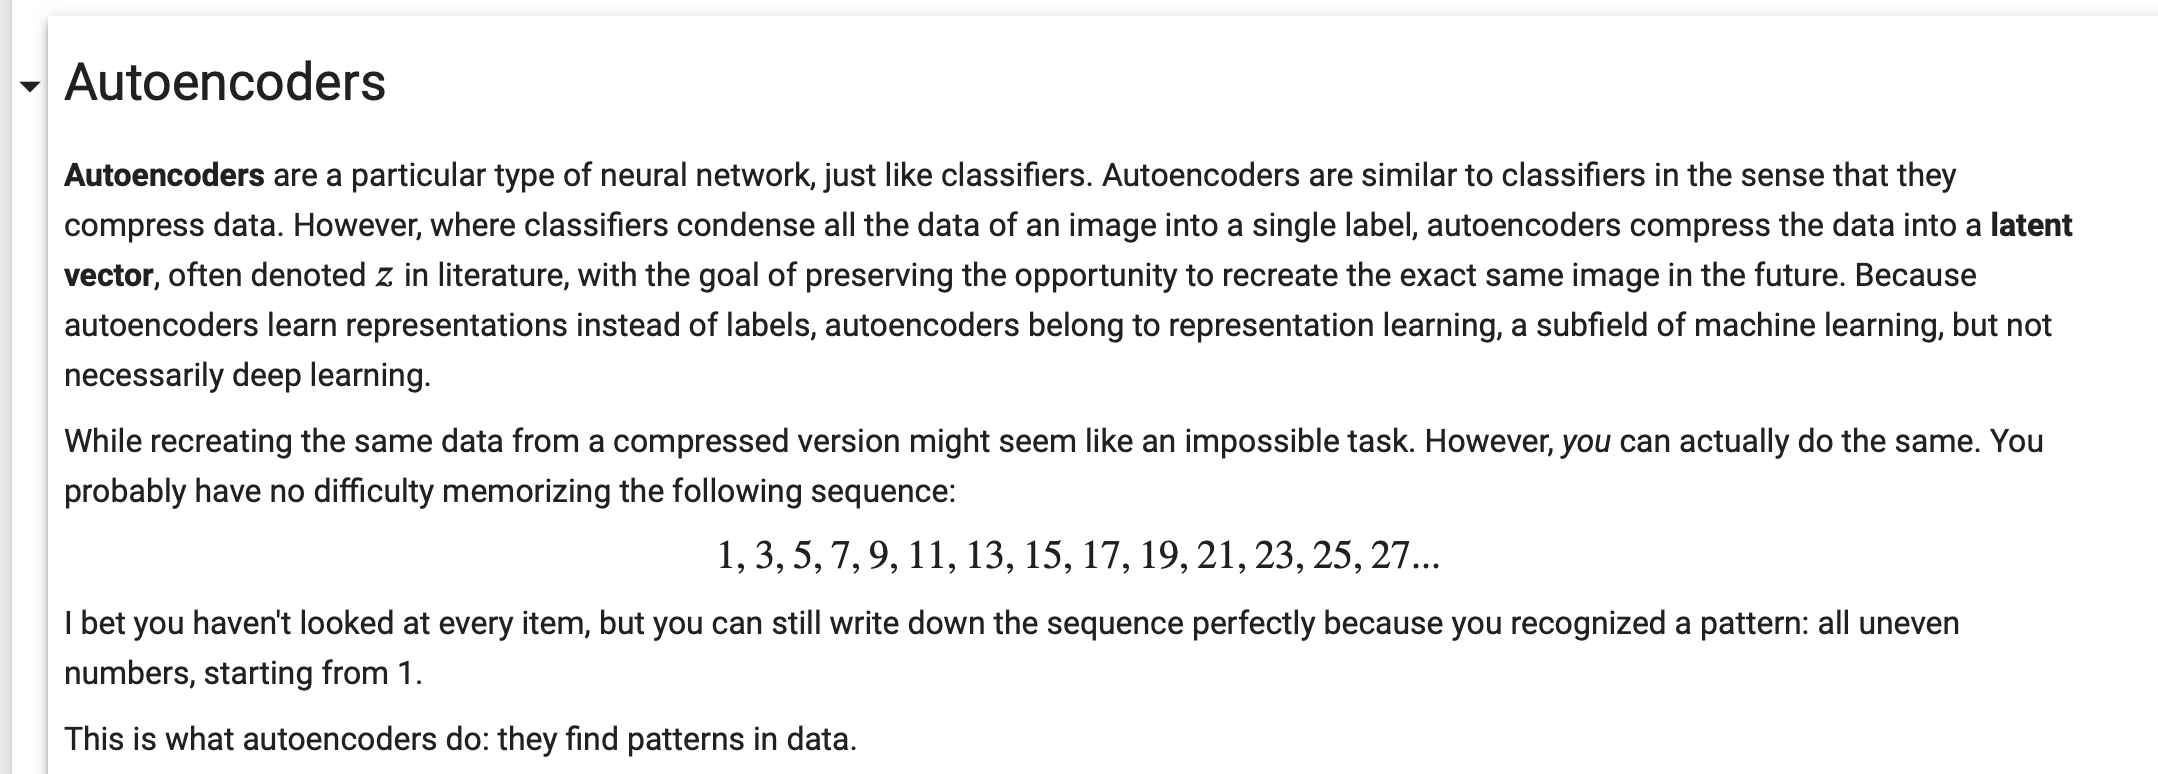
Auto encoders
Auto encoders were entirely new to me. I was glad I chose the task “Build a simple Auto-encoder model using tf.keras” because I learned a lot about them. They are probably the most interesting application of machine learning I have used so far.
I wrote a Colab tutorial detailing:
- Auto encoders: 96.2% data compression.
- Convolutional auto encoders: unsupervised classification.
- Denoising auto encoders: clean crappy data.
This tutorial was very well received by the mentors as well as Twitter:
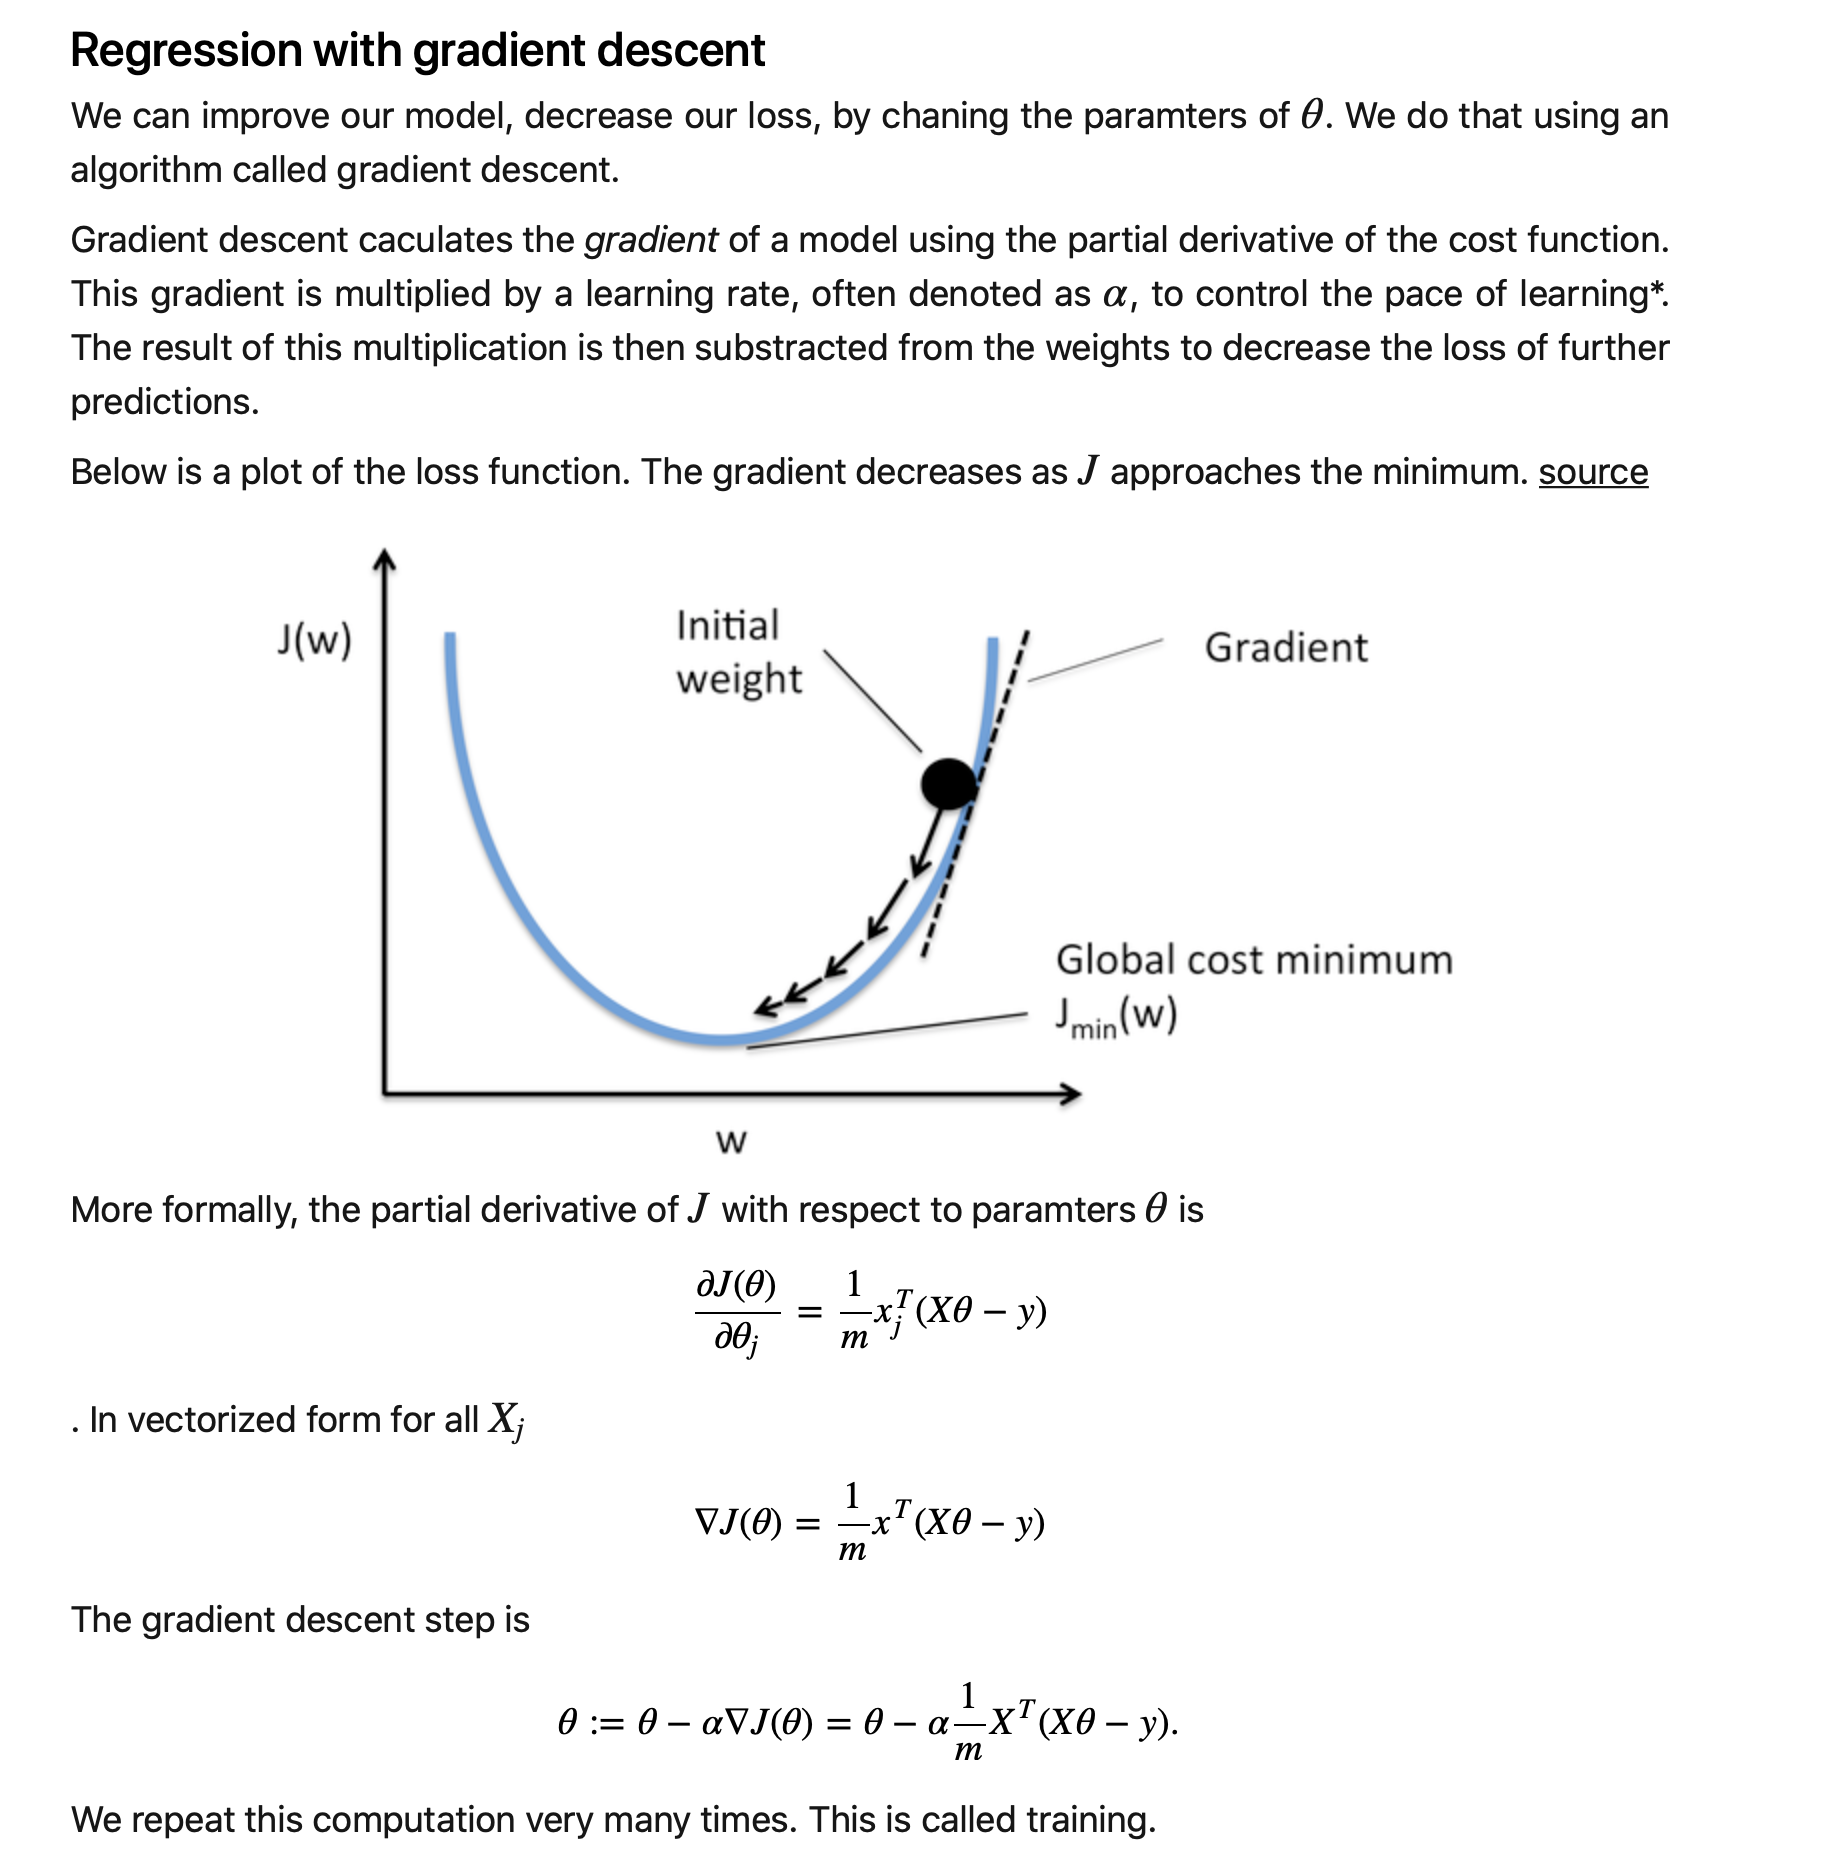
Polynomial regression
During Christmas I wrote a blog post for the task: “Tutorial for Polynomial Regression.”. My blog post covers the basics of machine learning, the mathematical theory behind polynomial regression along with an implementation in Python. It also discusses feature selection and over/underfitting.
This post was featured on the front page of Hacker News for more than 18 hours getting more than 140 points. Hacker News users provided a lot of good feedback improving future content on this site. In total the post attracted over 6000 new users!

Contributing to open source
Contributing to open source projects was very exciting because I got to work with many smart people from all around the world including Googlers.
Some merged PRs I made during Code-In:
- Add usage example to pad_to_bounding_box #36056 in tensorflow/tensorflow
- Add usage example to tf.keras.utils.to_categorical #36091 in tensorflow/tensorflow
- Add docs to README #2 in vvmnnnkv/SwiftCV
- Add contents section to README #16 in Ayush517/S4TF-Tutorials
- Add DCGAN #261 in tensorflow/swift-models
Thanks to the mentors, admins and organizers
Before wrapping up this post I would like to take a moment to thank the awesome mentors, admins and the organizers of Code-In for this amazing event. I really learned a lot by taking part in it.
I would like to thank the TensorFlow mentors in particular for investing their time into helping us, the students, with valuable feedback and counselling. This event would not have been possible without you.
I’m happy I got a chance to work with these mentors:
- Mohit Uniyal
- Ayush Agrawal
- Yasaswi
- Sayak Paul
- “freedom”
- Nishant
- Param Bhavsar
- Gaurav Saha
- Hunar Batra
- Utkarsh Sinha
- Sundaram Dubey
- Govind Dixit
- Arun
- Saket Prag
- adityastic
- Satyam Kumar
- Sourav Das
- Arthjain
- kurianbenoy
If you are a mentor (thanks!) and your Twitter handle is missing, my DMs are open!
Y’all are awesome!
Final words
The deadline just passed. I guess I’ll have to wait patiently until the winners are announced on February 10th! I guess I won’t get to sleep very much…
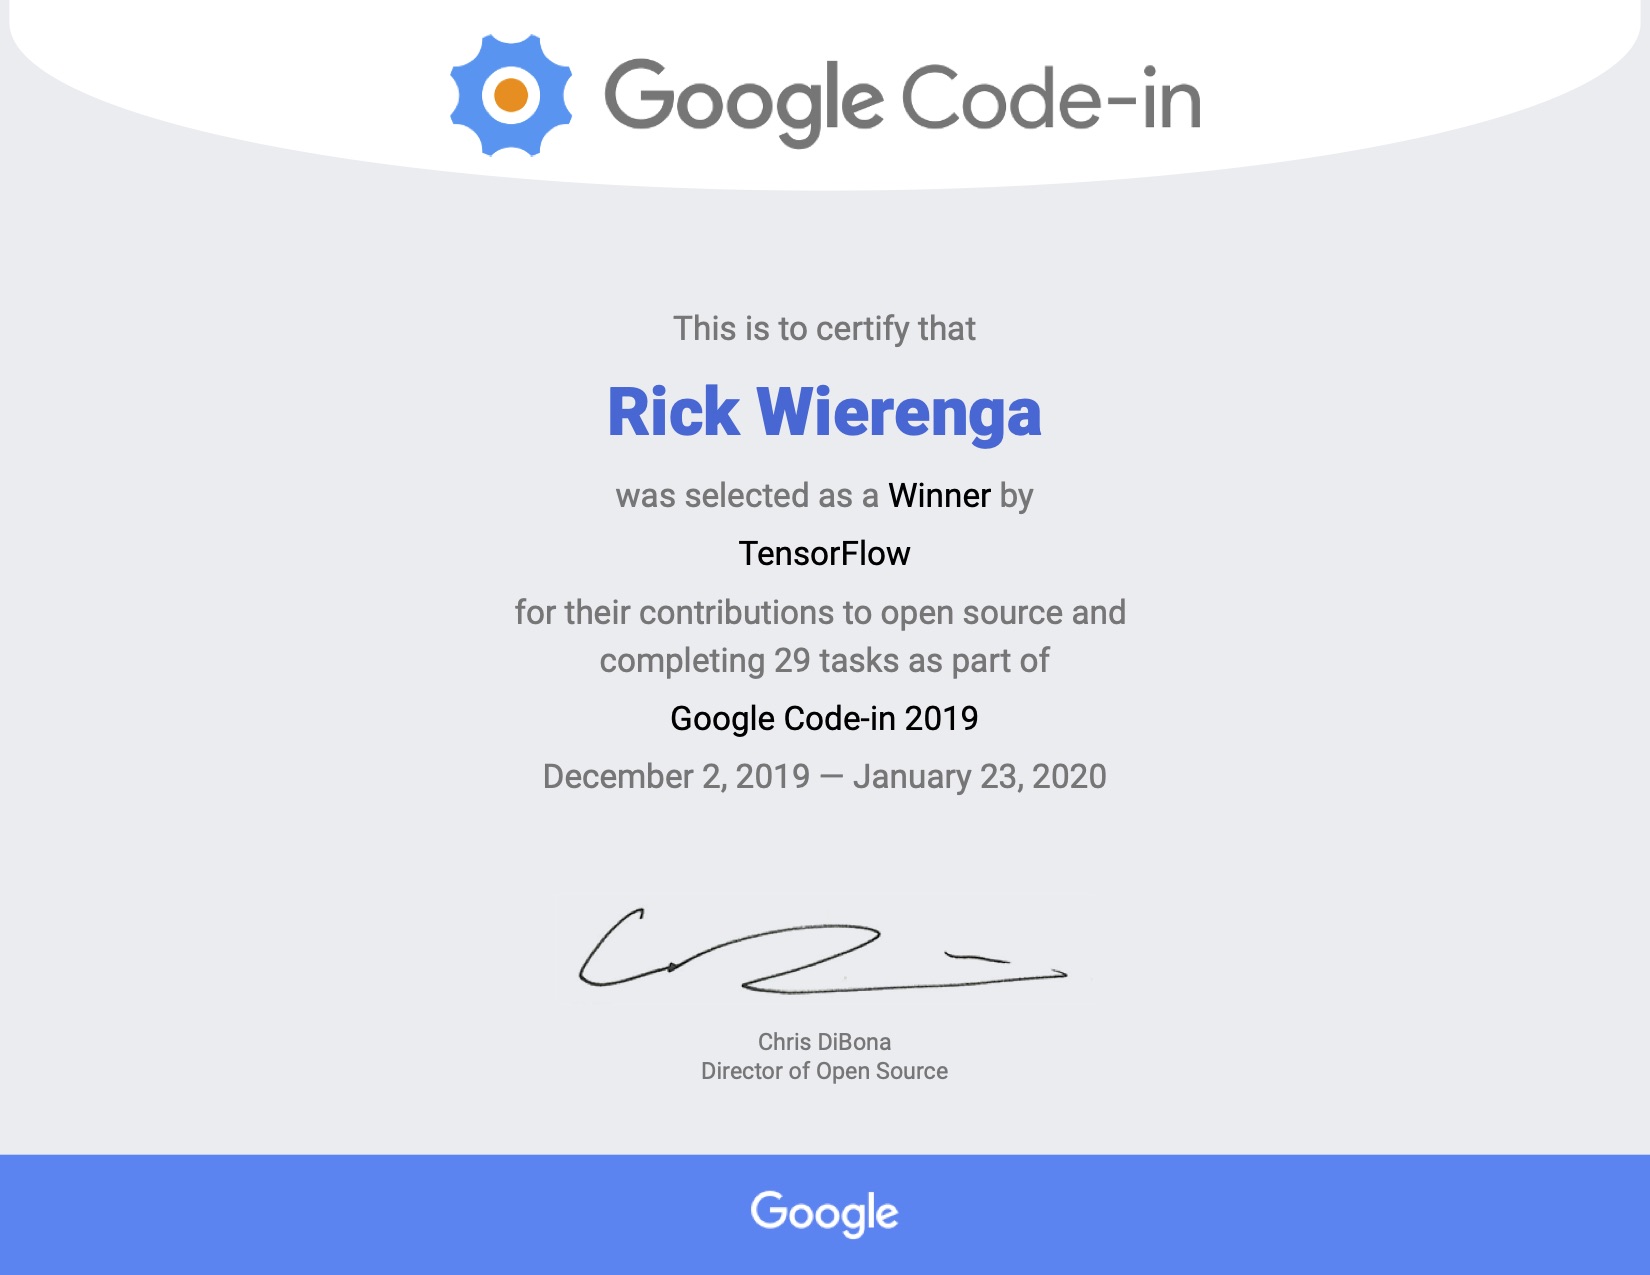
Update: February 10th
Google just announced the winners and I’m super proud to be one of them! I can’t wait to visit California again :)
Thanks for reading
I hope this post was useful to you. If you have any questions or comments, feel free to reach out on Twitter or email me directly at rick_wierenga [at] icloud [dot] com.